
DIY self-setting bedside clock pairs Raspberry Pi with AI-assisted code
Lee Hutchinson built a red LED bedside clock that syncs itself, runs as a Linux service and can be controlled through HomeKit.
By Maya Lindqvist · Senior Technology Correspondent
3 min read
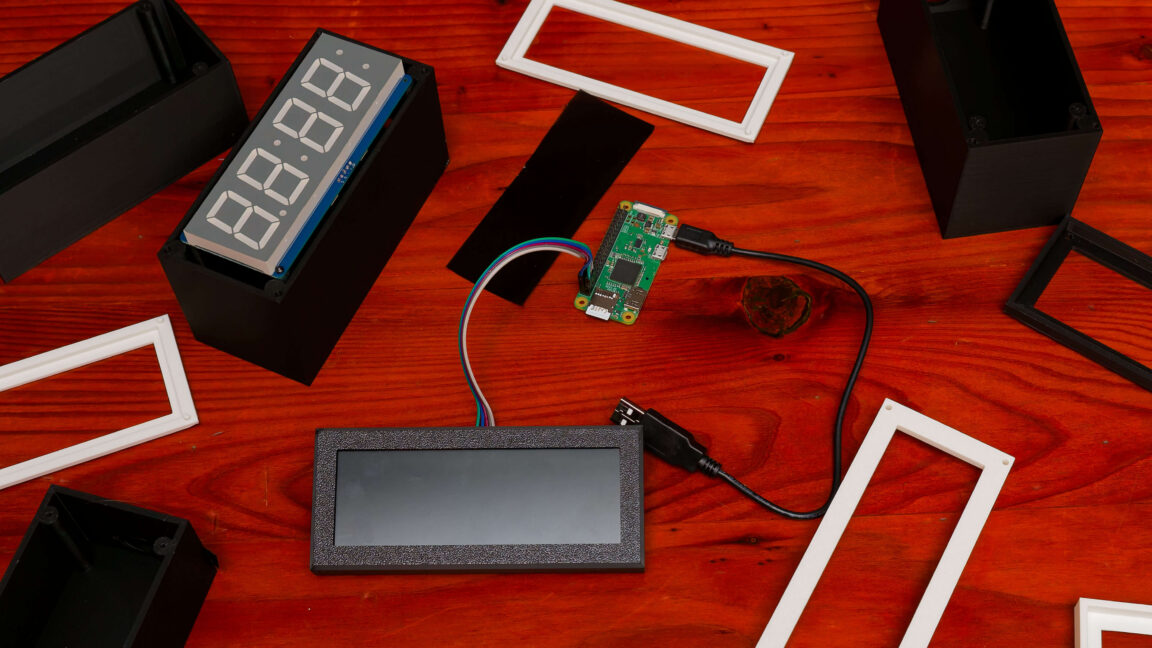
Lee Hutchinson has built a bedside clock to solve a problem many cheap clock radios still share: they need manual resets after power interruptions and time changes. In a project published by Ars Technica, Hutchinson said he wanted a red seven-segment display that set itself, handled time drift and daylight saving changes, and did not require a companion app.
The finished device uses a Raspberry Pi Zero W or Zero 2 W, an Adafruit 1.2-inch red seven-segment LED display with an HT16K33 controller board, and a 3D-printed case. Hutchinson has released the project files, including code, a bill of materials and printable enclosure files, in a public GitHub repository called PiClock.
A Linux clock instead of a store-bought one
Hutchinson said he considered using an Arduino-style microcontroller but chose a Raspberry Pi because it offered a Debian-based operating system, Wi-Fi, network time protocol support and familiar remote administration tools. The design relies on the operating system clock for timekeeping, with NTP handling synchronization and the OS handling daylight saving behavior.
His requirements extended beyond showing the time. According to Hutchinson, the clock host was designed to stay on the local network, pull updates from local apt and NTP servers, run its clock service under a dedicated unprivileged account, and support scheduled brightness and display shutoff.
The clock can also be controlled from the command line through a Unix socket and through Apple HomeKit, Hutchinson said. He used HAP-python for HomeKit integration, and the display’s 16 brightness steps are mapped to the Home app’s 0-to-100 percent slider.
AI helped write code and reshape the case
Hutchinson said he had limited confidence in writing the Python needed to drive the display over I2C, so he used Anthropic’s Claude Code, first with Opus 4.8 and later with the Fable model. He credited the tool with producing the Python application, a test suite, HomeKit support, installation logic, deployment details and much of the repository documentation.
The clock software runs as a systemd service. Hutchinson said deployment is handled through Gitea Actions on his local network, where tagging a release builds an artifact and sends it to the Pi through a restricted local service account.
The physical enclosure also required changes. Hutchinson started from a Creative Commons-licensed 3D-printable case made for the same Adafruit display, then modified it in Autodesk Fusion. He said he tested Fusion’s MCP server with a locally hosted Qwen 3.6-35B model on an Acer Veriton GN100, but turned back to Claude Code and Fable for most of the CAD changes.
Dimming a bright display
After soldering the Adafruit display to its backpack board, Hutchinson found the display remained too bright for a dark bedroom even at its lowest setting. He added smoked acrylic and a strip of 12 percent neutral density filter material to reduce the light to a level he compared with a standard bedside clock.
He said the final enclosure went through at least three major revisions and prints without supports. The finished case mostly holds together on its own, though the front bezel needs tape or small amounts of glue unless the guide pins are redesigned.
Hutchinson said the project cost more than he planned because of false starts, tools and extra supplies. He also noted that an ESP32 might be a more efficient choice than a Raspberry Pi for others building a similar clock, since it offers Wi-Fi and I2C support without running Debian.
This story draws on original reporting from Ars Technica.